How do I check the can seams?
The first step is to recognize that you need a quality control lab, and no, your taste buds don’t count. You need to extend your testing to include the can as well and to make sure that it is properly sealed and won’t leak or be exposed to outside contaminants. Even microorganisms can get into the can and contaminate the beer if the seam isn’t formed correctly.
Once upon a time, testing the seams involved a tiny micrometer. This is a small hand-held device that can check small measurements such as the seam thickness and seam height, the two external measurements of the double seam.
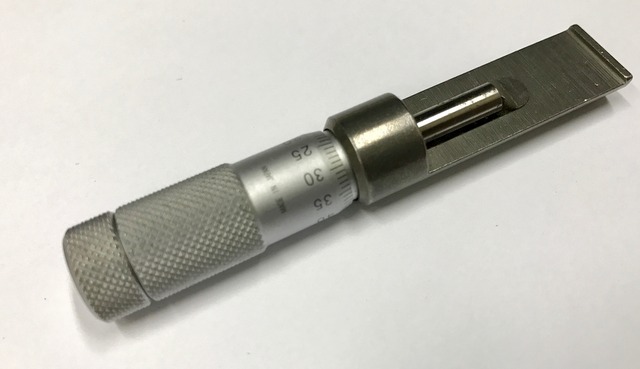
However, aluminum is a tricky material. It’s soft and flexible, ironically the very properties that make it such a great container would make these manual measurements essentially worthless. The value of a measurement taken with a micrometer mostly depends on the person holding it. How much force are they using? What angle are they holding the micrometer at? One person can end up with one set of results, while another will show completely different measurement values.
Obviously, an objective, hands-free gauge is needed here to make sure that the cans are sealed shut.
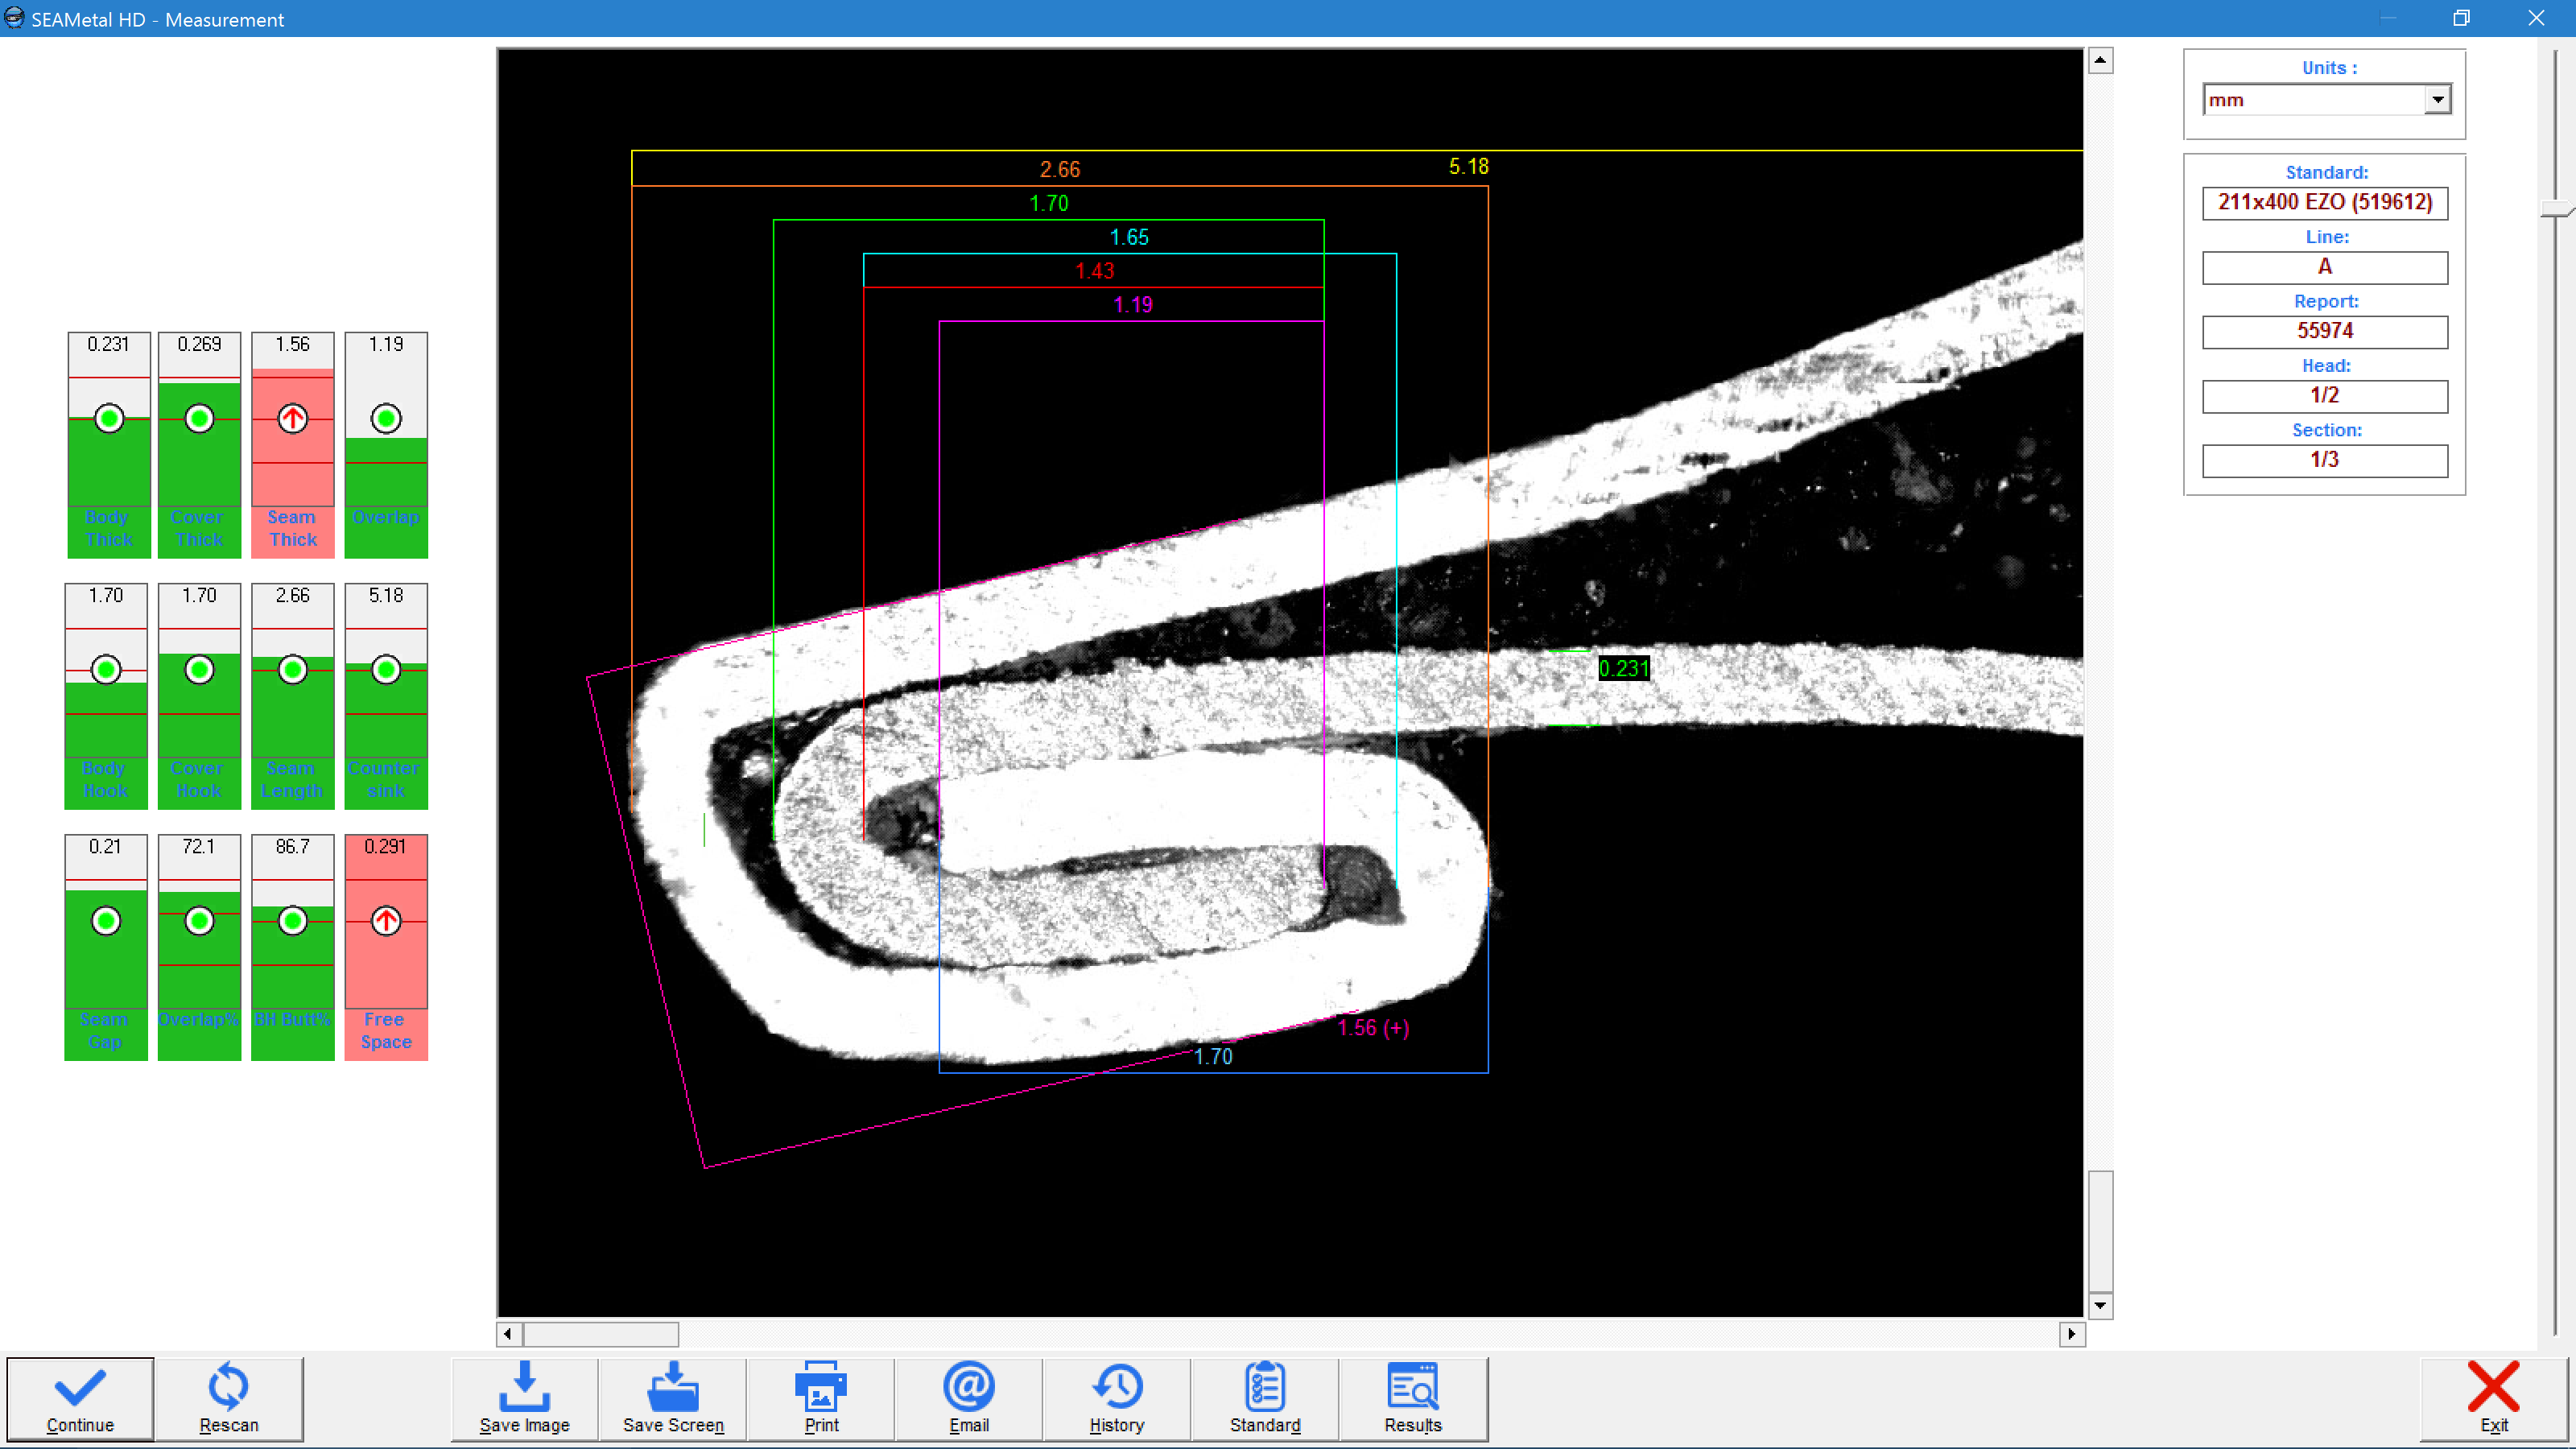
That gauge is a computerized double-seam gauge, or seam inspection. The operator pulls can samples off the line periodically, empties them, dries them out and then performs a destructive seam measurement on each of the sample cans. This involves cutting the cans with a seam saw to expose the cross section of the double seam. Then the operator measures the cut cans one at a time with a SEAMetal or similar double seam inspection system.
The SEAMetal software then does most of the work by measuring the important values instantly and automatically. The seam standards are provided by the can suppliers, and as long as the values are within the specifications, the cans are sealed tight. There are a few critical values that need to be tested with the system.
Seamer setup
If the can samples tested with the SEAMetal are within specifications, all is well and production can continue as usual. But what happens if the values are out of specs?
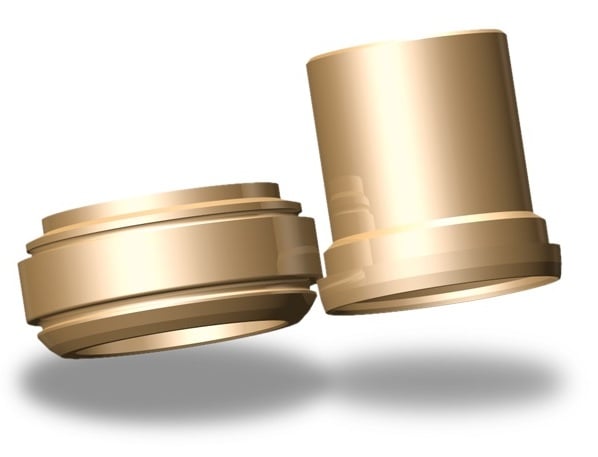
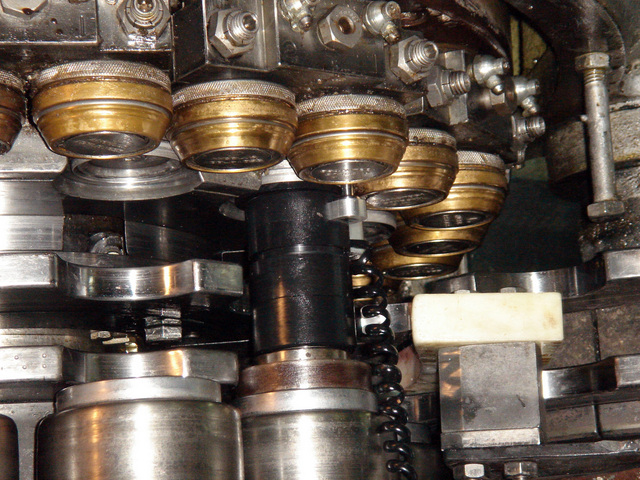
This will inevitably happen as temperatures change, the machinery loosens up and parts begin to wear. This is the brewer’s first warning that something in production has gone wrong long before we see a leak or contamination. That’s when you need to go back to the source, or in this case – the seamer. There are usually only a couple of reasons why a seamer isn’t producing good seams:
- A tooling (chuck, roll, bearing, etc.) may be damaged
- The chuck/roll distance isn’t set up right
The traditional way to find and correct seamer issue is to use feeler gauges or, in some cases, wire gauges. The operator spaces the roll/chuck distance with the feeler gauges, runs cans, stops production, tests the cans and repeats this process until the seamer is adjusted correctly.
The problem with feeler gauges is that they require years of experience to use correctly, they’re time-consuming and an operator basically guesses their way to seamer set up. Their thicknesses also tends to change over time and repeated use.
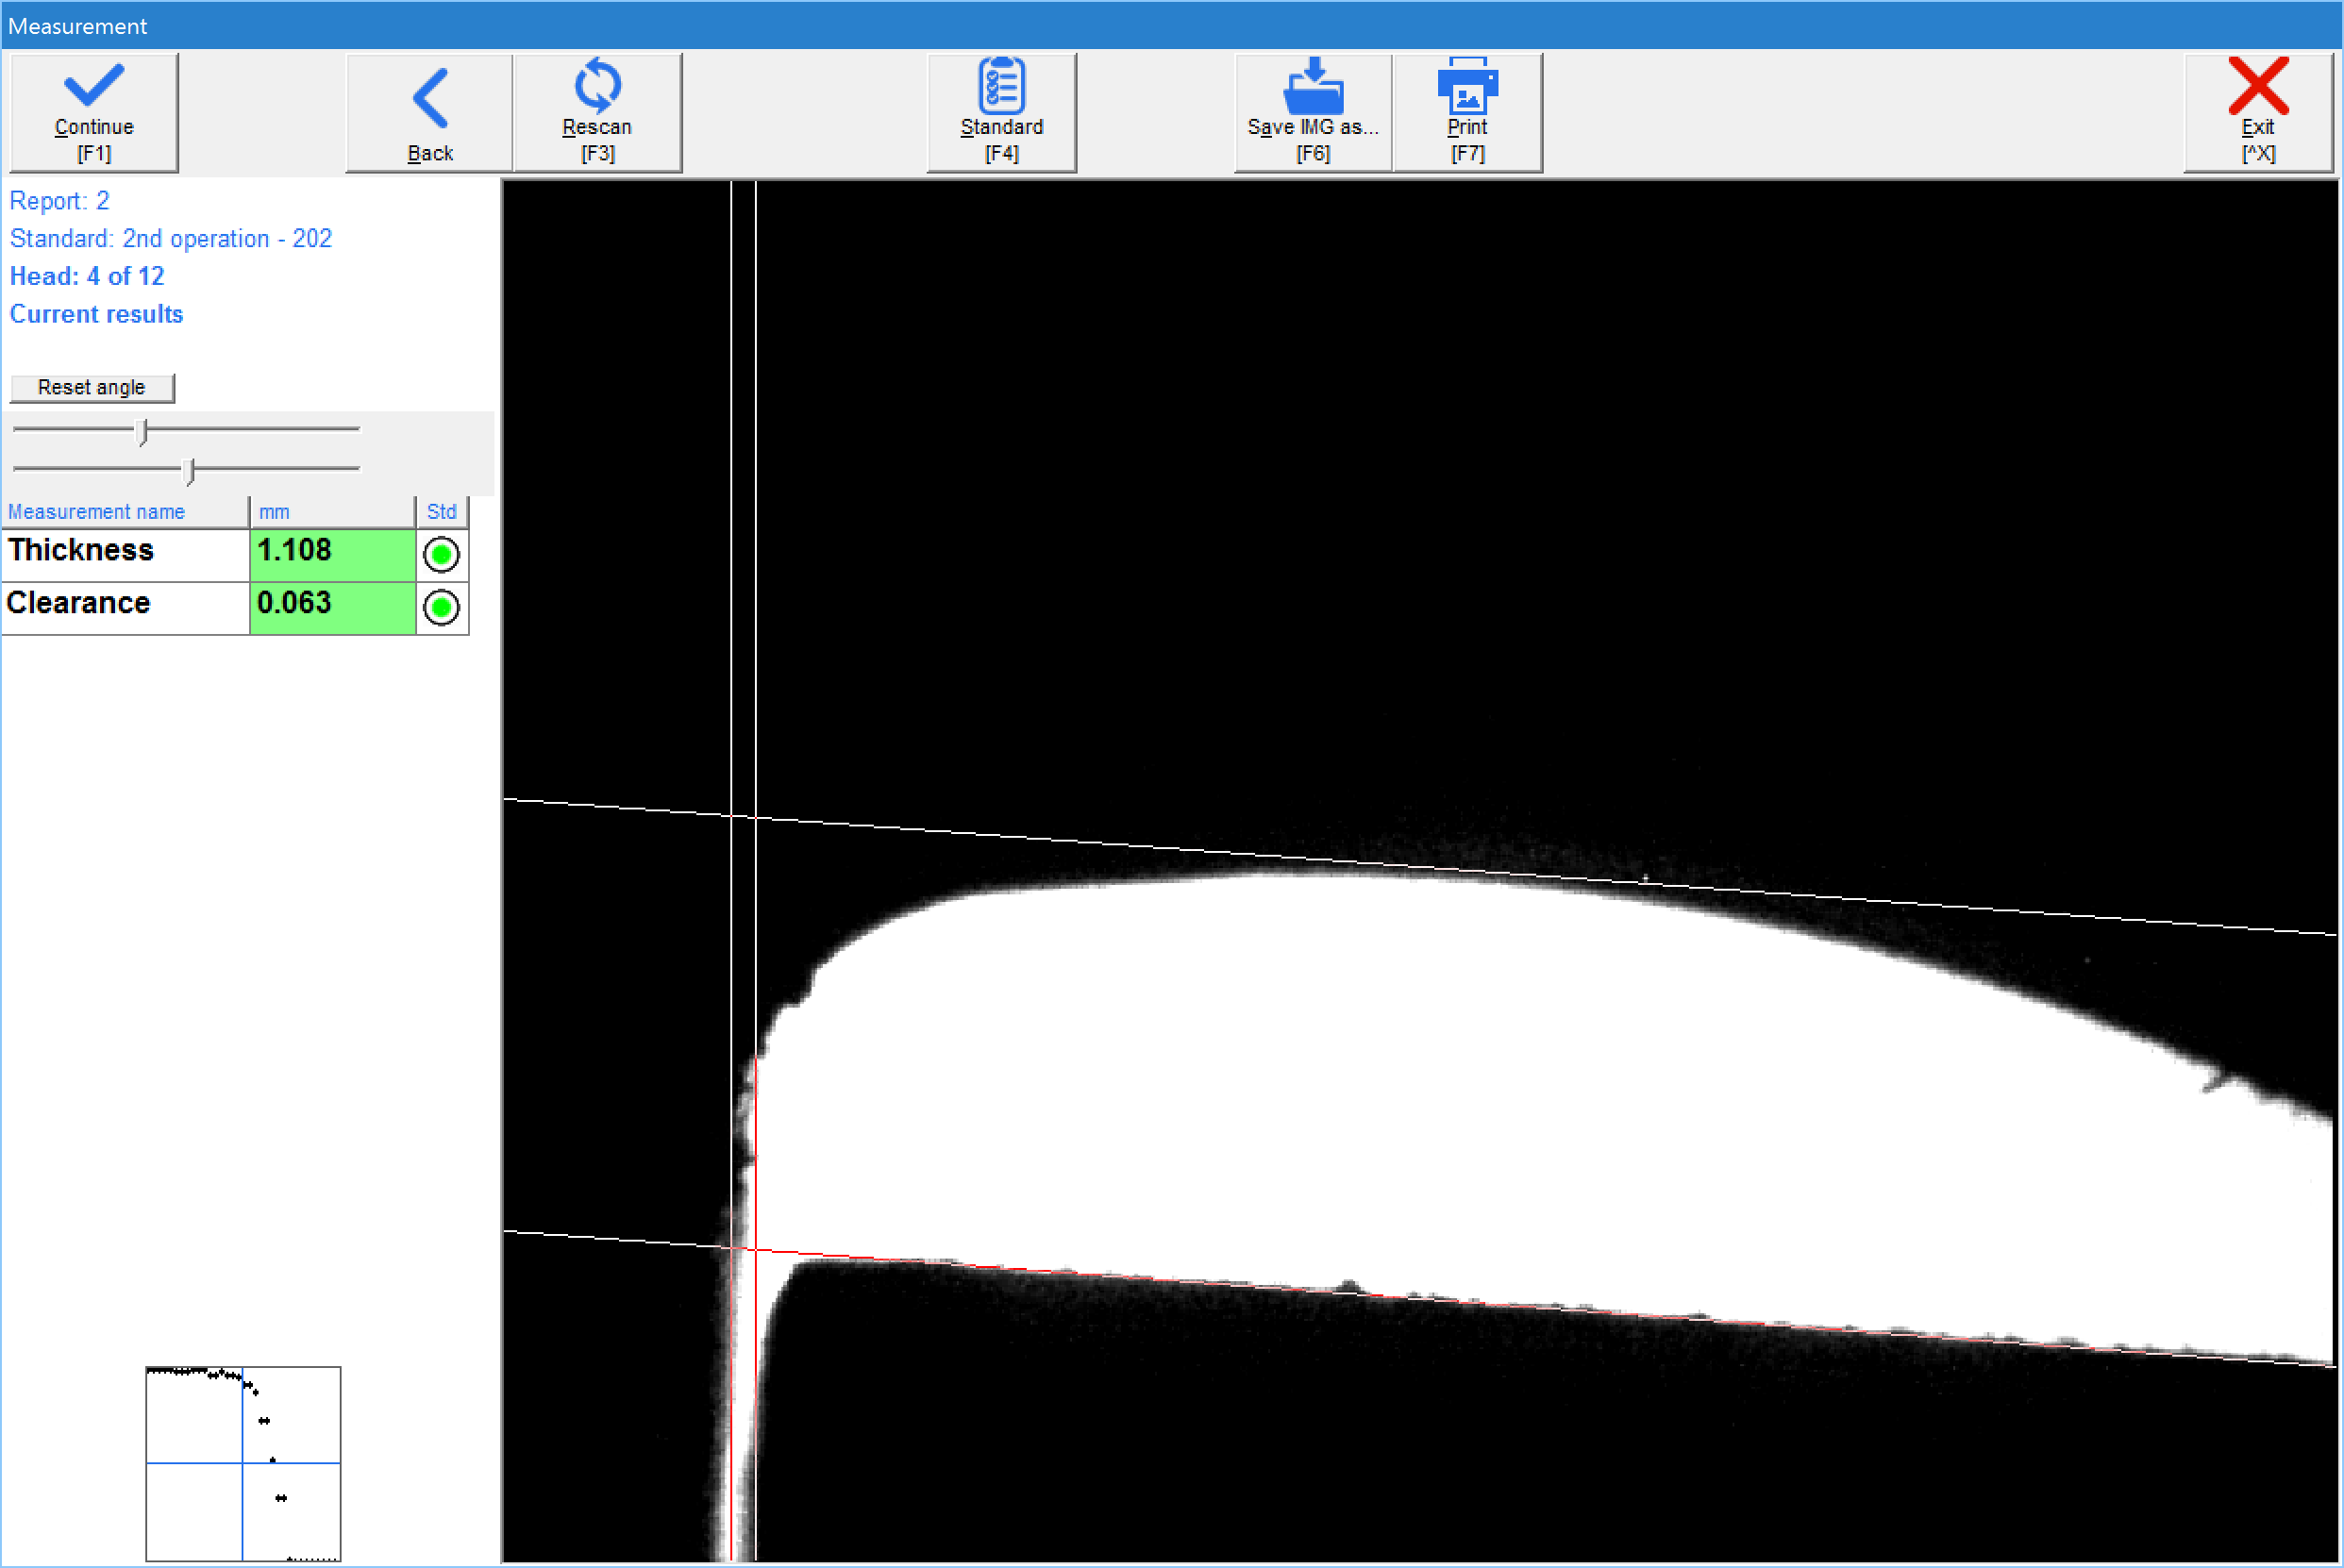
The modern approach is to use a clearance gauge, which is a computerized visual gauge that is placed inside the seamer like a can and allows the operator to see the position of the roll in all directions. This completely takes the guesswork out of the process because the roll position can be adjusted while looking at a live image. This means that the seamer is adjusted once, quickly and accurately before continuing with production.
Routine usage of a seam inspection system (SEAMetal) and a seamer setup gauge (clearance gauge) has been proven to find trends of a problem before it becomes a serious complication. A short delay in production can be annoying, but a recall can be devastating. Finding and correcting problems at the brewery is a lot easier and definitely more cost effective than discovering them out in the field. After all, no one wants their customer exposed to a less than perfect product. In today’s environment of Yelp and social media, everyone is literally a critic with a huge audience.
Canning does not have to be a huge headache. It is somewhat of an investment, but a good partnership with a can supplier, a good filler and seamer, some quality control equipment and the correct mindset and your beer will be flowing fresh from those cans in no time.
Ofer LaOr is the chief technical offier for Quality By Vision, a leading quality control manufacturer for the canning and filling industry. Quality By Vision has also created a free resource for craft breweries who want to understand more about canning. Visit it here!


Derek Dewitt says
I’ve been thinking about canning my own homemade brew, so thanks for sharing this article. I like that you suggest choosing aluminum cans because they are lightweight and stackable. I’m not sure how much I’ll end up making, so I’ll be sure to do this so they don’t take up too much space. http://melvinaseamers.com/angelusseamers1/