A young beer must be properly conditioned and stored if it’s to become a mature, well-rounded, fermented and carbonated craft beverage. Specifically when the fermentation process is complete, a newborn beer needs to be filtered, chilled, carbonated and aged into a sophisticated and seasoned draft, which takes a variety of vessels and processes. There’s no one particular way to do this. A uni-tank is a fermentation tank that has both primary and secondary fermenting and aging functions in one tank. Other craft breweries will use a conical fermentation vessel and a conditioning tank for aging and maturing.
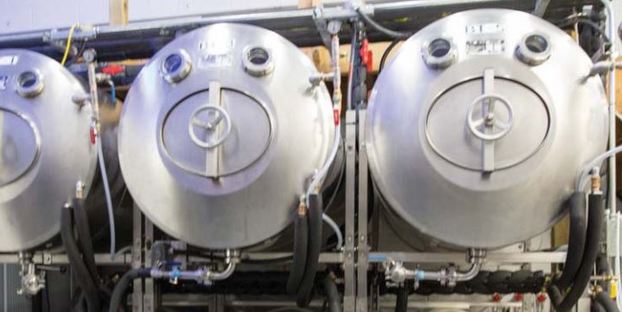
Whatever the process, after conditioning (which can take anywhere from one to six or more weeks), the beer is filtered to remove any remaining yeast and large proteins. That clarified beer is known as bright beer because of its non-cloudy nature. That bright beer is then transferred to a bright beer tank. Often called a “brite” beer tank, serving tank or secondary tank, a bright tank is the vessel in which beer is placed after primary fermentation and filtering, so it can further mature, clarify and carbonate, as well as be stored for kegging, bottling, canning and packaging. In brewpubs, bright beer tanks can even do double-duty as serving vessels.
Though the engineering and function of a bright tank isn’t nearly as complicated as a brewhouse or bottling line, these vessels have important functions and maintenance items. For instance, temperature is very important. Your typical fermenter needs to run at 68-72 degrees Fahrenheit, but you want your beer and bright tank at near freezing (32 degrees Fahrenheit) to get it to carb up properly. Bright tanks must be engineered to be cold and hold pressure, sometimes act as post filtration and be easy to clean and service.
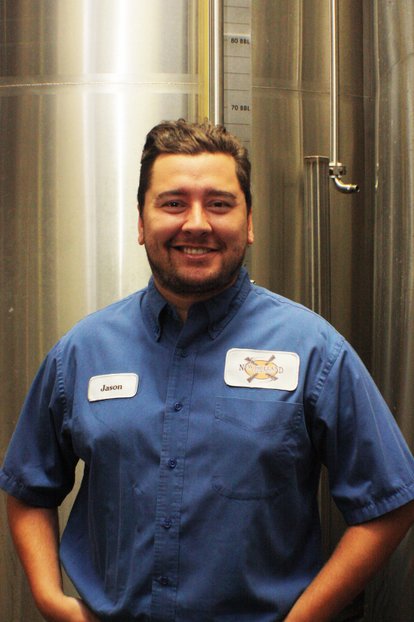
To learn more about the function, maintenance and manufacturers of bright tanks, we reached out to a few of the best craft breweries in America to get their insights and advice on these important brewing vessels. Head Brewer of New Holland Brewing Co., Jason Salas, was kind enough to share his insights into these unique vessels. New Holland is one of those rare craft companies that can do a little of everything well — brewing beer, distilling spirits and running a separate pub and restaurant in downtown Holland, Mich. The company’s wonderful cadre of craft beer, including staples like Dragon Milk Bourbon Barrel Stout and Mad Hatter India Pale Ale, are sold and distributed throughout 17 states (from Michigan to Minnesota, as well as Washington, D.C.)
When it comes to planning, making and creating New Holland beer, Salas is the proverbial man. We asked Salas to give us some insights on bright tanks, and he kindly obliged with the excellent Q&A below.
Craft Brewing Business (CBB): Jason, again, thanks for taking the time to talk. We loved the story we did with Brett VanderKamp, co-founder and president of New Holland Brewing Co., back in April. It got a great response from our readers. Today, we’d like to talk about bright beer tanks and their function in the brewing process. First off, can you in your own words explain what exactly a bright beer tank does, and what it specifically does at New Holland?
Salas: A bight beer tank is a vessel that holds our finished product that is ready for packaging. When fermentation and proper settling/aging time are complete, we send our beer through our centrifuge to get the desired clarity. When the desired clarity is achieved, we then send the beer from the fermentation/maturation tank through the centrifuge and then into the bright beer tank. At this stage, the beer will be close to freezing temperature, and the bright beer tank would have been purged of air using CO2. We then fill the tank up until the fermentation tank is emptied.
Now, what we have in the bright beer tank is “bright” clear beer, depending on the style. Some of our beers require us to filter them at warmer temperatures to give them a chill haze. To get a chill haze, we would filter our beer around 45 degrees; the beer would appear to be just as clear as when you are filtering any other beer at that point. As soon as you begin to chill the beer closer to freezing, the proteins will begin to join together with polyphenols making them now visible as a hazy beer.
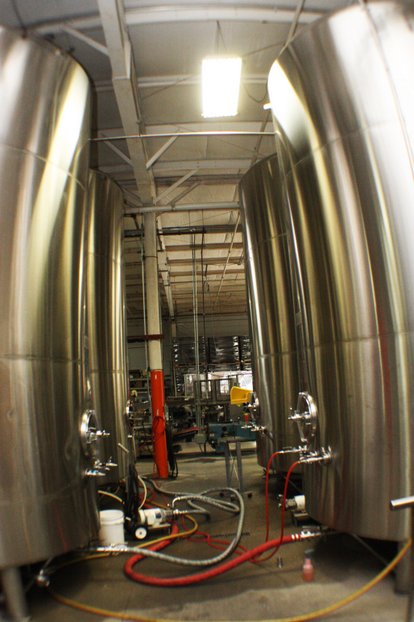
Once we have the bight beer in the tank and it is cooled to near freezing, we can begin to carbonate by adding CO2 pressure into the beer in the bright beer tank using a carbonation stone or two. The carbonation stone breaks up the CO2 flow into micro bubbles, making it easier to absorb into the beer solution. Depending on how much head space you have left and the max pressure your bright tank can hold will determine the amount and time and pressure or CO2 you must have on the tank. To make things easier, have a working tank pressure of at least 20 psi; 15 psi will also work, but requires more time and effort to carbonate. After adding the CO2 and bringing it up to 15 to 17 psi, we will run our beer through a CO2 meter to analyze the CO2 volume.
When we reach the desired CO2 volume, the beer is ready for packaging. Either going into bottles or kegs, we can dispense the beer from the bright tank by maintaining pressure on the bight tank and pumping it to the appropriate packaging area.
CBB: How many bright tanks does New Holland currently use? How much capacity do you have with those tanks?
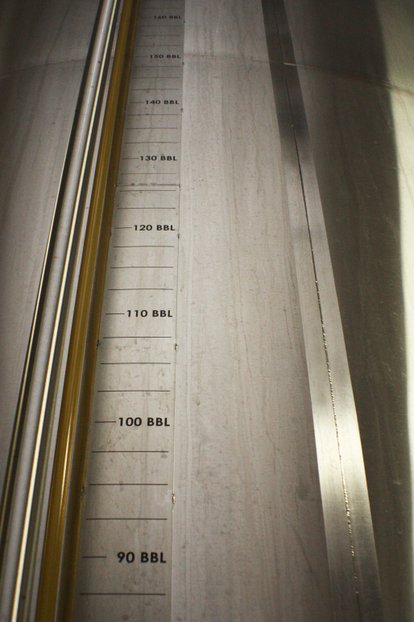
Salas: We currently have four bright tanks each with a working volume of 200 bbls [6,200 gal], so a total of 800 bbls [24,800 gal] of bright tank space.
CBB: What are the brands of those bright tanks?
Salas: The brand of our bight tanks are Metalcraft [Fabrication], and we purchased them directly from Metalcraft. We chose that manufacturer because we felt they had a great product at a competitive price.
CBB: When buying bright tanks, what particulars played into your buying formula? Did certain technologies or features influence your decision? Did the manufacturer’s services or brand convince you? Give us some insights into the decision-making process.
Salas: When buying bright tanks you need to make sure to spec out what is right for you and your brewery. What is the total max pressure the vessel will need to hold? What parts and/or equipment do you want to use with your bright tanks? How many ports do all these operations require, and what size do you need each of them to be? How easy is it to get replacement parts such as new man way gaskets? What kind of cooling do you need on the tanks? What volume do you need them to be, and do they correlate to your fermentation tank size? Do you need specific tools to clean them? How will you receive them? What is the lead time required to receive them? Does the company have a good reputation, and have you contacted references to talk about challenges they may have had with the tanks?
For us, we needed to make sure that we included two bottom ports, so that we could inline carbonate a beer to a bright and draw from that same tank to package simultaneously. Though we currently are not practicing this method, we know that this will be a function that we want our bright tanks capable of in the future. So, consider what they have to do, as well as what you may want them to do.
CBB: What advice would you give a new brewer or up-and-coming brewhouse when buying bright beer tanks?
Salas: Make sure your bright tanks are suited to your needs and how you want to finish your beer. No detail is too small.
CBB: What advice would you give a new brewer or brewhouse when operating a bright tank? Can you give us some insights about temperature control, carbonation, CO2, pressurization or other best practices when utilizing bright tanks in the brewing process?
Salas: Do not exceed the tank’s maximum pressure. Use tools to ensure you do not do so. Bright tanks can be dangerous. Insulated and glycol chilled tanks are what we use, and they work well. The colder you can get your beer, the easier the CO2 will be absorbed into the solution when force carbonating. Be sure to have a good carb-stone to use. Purge your bright tank before filling, and use a meter to check that your tank is sufficiently purged. I prefer stainless carb-stones as opposed to ceramic, mostly because they are not as frail.
CBB: What insights would you give someone when it comes to cleaning and maintaining a batch of bright tanks? CIP systems? Easy access manholes? Proper safety attire?
Salas: Be sure personnel are properly trained to handle all chemicals used. Be sure to evacuate all CO2 before introducing caustic to a tank. Also be sure to properly handle CO2 coming out of the tanks so that your workers don’t die of suffocation. Wear safety gear, gloves, glasses, masks and boots. Have safety accident stations around that are easily accessible, eye wash, showers, MSDS and bandages at a minimum.
When making a cleaning solution, make sure to have the proper amount of detergent. To save you time and money, do not under or over dose. Be sure to rinse well after cleaning to be rid of left over residue. Put all your parts through a good cleaning cycle as some of the valves and gaskets will not have good enough contact during CIP to be properly cleaned.
CBB: Awesome info, Jason. We know you’re busy brewing great craft beer, so we really appreciate your time.

[…] has already taken place at the brewery. Carbonation has occurred, either force-carbonated in the bright tank or bottle conditioned. So by the time the beer leaves the brewery, it’s ready to […]